Showing posts with label Dewalt. Show all posts

BMW E60 / E61 Rotor Repair - COVID Lockdown Parking Rust and Brake Vibration

 When the COVID lockdown hit back in March, daily commuting stopped, kids were pulled from school, shopping essentially stopped except for weekly trips to the grocery store, and the BMW wagon went from use 4 to 6 times a day to a couple times a week. The drop in use was dramatic, and one result of this was a couple of instances of the brake pads bonding to the rotors with corrosion. You would go to use the car, all the brakes would be stuck, and after a few seconds of throttle, eventually the corrosion bond would break and the car would start rolling normally. 

BMW E61 535xi Front Rotor
Use of the car has gradually returned, and we did a local road trip in August. The brakes in the car were completed replaced when I did the turbo project 2 years ago, since then the car has only travelled about 20,000km. During the road trip I noticed minor brake pedal vibration - more apparent during light braking, less apparent with a bit more force on the pedal. 

When I brought the car into my garage in September to look at the low boost pressure issue, this was on my list of issues to repair. 

Rust ridges on front rotor left from pads freezing to rotor
I thought about purchasing new pads and rotors to sort out the issue, but 20,000km is next to no use, and I wanted to avoid the cost and the waste. I got onto google and looked for brake rotor turning services. At one time this was common, now, almost impossible to find. There was one machine shop in east Montreal that gave me a reasonable quote for turning the rotors, but when I went to drop them off, the machinist had sufferred an accident and would be off work for a month. No go. 

Frozen brake pad prints on the front rotor

So - if a part is broken, you can't really break it any more trying to fix it. I decided to try sanding the rotor surfaces with a Dewalt 5" orbital sander with 200 grit paper, to try to remove the ridges. 

Frozen brake pad prints on the front rotor

I sanded the complete surfaces, front and back, of both disks. I did two passes, not wanting to remove too much material and creating a bigger problem than I already had. I was careful to spend the same amount of time and pressure as equally as possible around the surface of the disk, just spending slightly more time on the ridges left by the various brake pad prints on the rotor surface. I didn't try to completely remove the brake pad prints, but smooth them out and hopefully reduce the pedal vibration. 

Front disc following sanding - pad outlines are still visible.
The sanding removed some of the ridges left during the pad bedding into the rotors. I knew that the pads would have to bed in again, so I was patient for the last month and tried to modulate my brake pressure to allow that to happen gradually. 

I would say that this has largely solved the problem, although, with very light application of the brakes there is still a slight vibration. With normal stopping pressure, the vibration is not apparent. It seems to have improved the braking feel, but it's not perfect. It seems to be improving with time however, so I'll let it go for another month or two and report back whether the problem resolves itself. For now - I've saved the cost of a pair of rotors and pads. So far, so good. 


Share:

BMW Underbody, Suspension and Rear Bumper Rust Repair with POR-15 System

While I had the BMW wagon in the garage replacing the rear axles and sorting out the turbo control vacuum issues, I noticed the start of some corrosion in critical areas - on the steel body near the rear subframe and brace mounts in particular. 

Rust bubbling the paint near the spare tire well - frame stiffener mount

I had some time so I decided to take action now to avoid larger problems further down the line. Two years ago, when I did the turbo replacement project, I also dropped the differential to give it a thorough cleaning, replace all the seals, and paint the steel body. At the time, I used Tremclad spray paint. After 2 years, 2 winters on the road, the rust was coming back and I was almost back to where I started. From some research on the internet, I found the POR-15 system - a polyurethane based prep and paint system that seemed to be much more durable, so I decided to give that a try. 

Rust returning to the differential case - 2 years after Tremclad application

The first component I cleaned up and painted was the right front bearing carrier. I had the drive axle out of the car to repair the oil leak, and some of the suspension components disconnected, so this was a good time to access the part and get it done. 

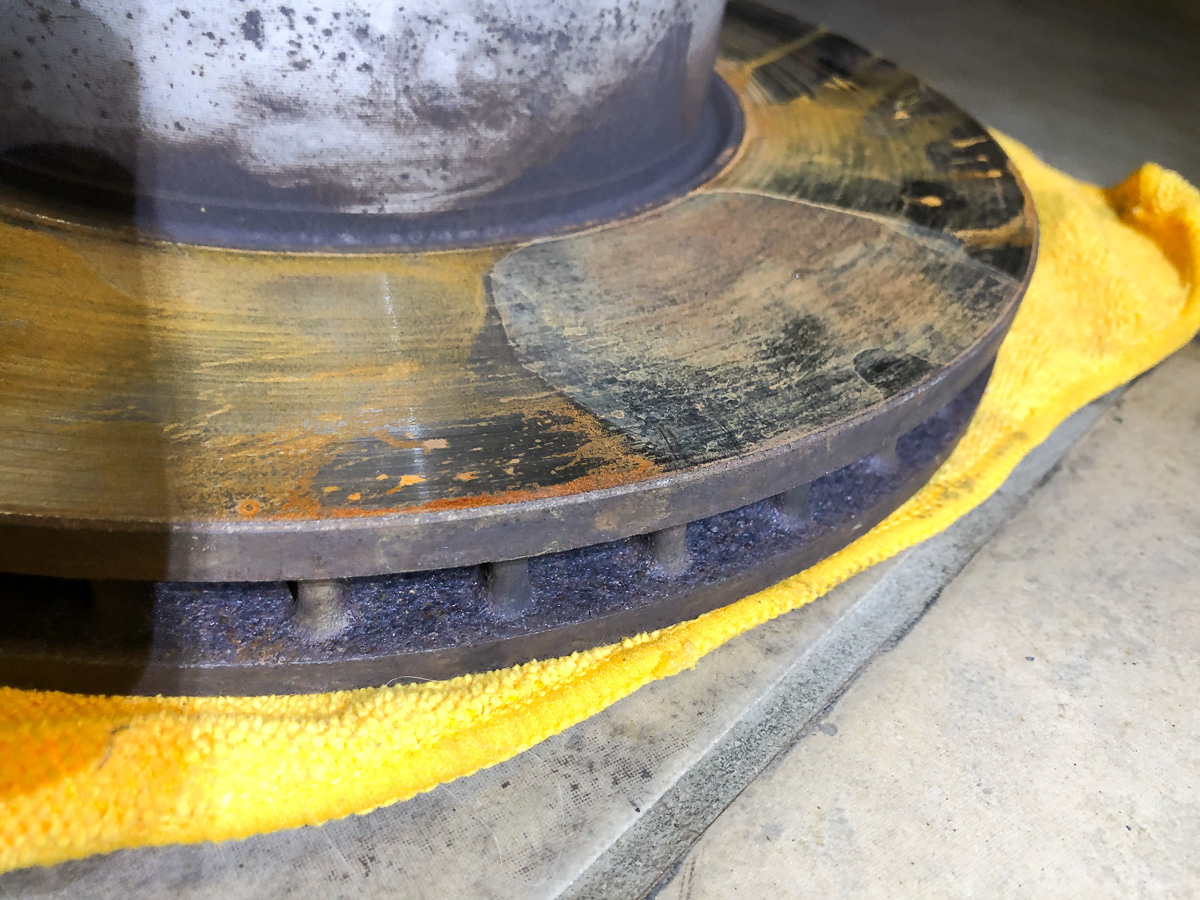
Bearing carrier - loose rust removed, degreased, and treated with the rust conversion primer.

The POR-15 system is comprised of a few basic steps:

  • Remove loose rust
  • Degrease using the POR-15 degreaser
  • Prime using the rust conversion primer
  • Paint - at least two coats - using the polyurethane paint.
Bearing carrier painted with POR-15 Black Paint

What's interesting with the system is that the degreaser and primer are both water based - and the paint required humidity to cure. This allows you to perform the steps fairly quickly one after the other. You don't need the part to be perfectly dry before painting (although you don't want any standing water on the part which may affect curing by causing bubbling under the paint). 

Surface rust on the rear bumper

More surface rust on the rear bumper


Rust on right side rear bumper mount

I had pretty substantial rust on the rear bumper, trailer hitch and bumper mounts. Large areas of paint were flaking off the trailer hitch, and large areas of the rear bumper were rusting badly. 

Loose paint and rust removal with 3" carbon steel wire cup brush on grinder

I pulled the rear bumper and mounts from the car, and the trailer hitch. I used a 3" cup brush on my Dewalt 20V grinder to remove loose paint and rust from the parts. It took about an hour to do all the parts - there was substantial rust and the cup brush worked fantastically. What a tool, highly recommended. 


3" Wire Cup Brush - great tool for cutting through paint and rust

With the parts cleaned, I washed them with soap and water to remove all the loose scale and grinding dust, prior to degreasing. 

After loose paint and rust removal, rinsed and ready for degreasing.

To degrease the parts, you use the POR-15 degreasing solution, diluted 4:1 with hot water. I use a plastic brush to scrub the parts and get into hard to reach areas. When complete, rinse the parts with hot water. 

Immediately after rinsing, you can do the rust conversion primer since it is water based. Apply the rust conversion primer to all bare and exposed rust and metal. I use a 1" paint brush to scrub it in as good as possible. The instructions suggest you leave the surfaces wet for at least 20 minutes, I went back and reapplied the primer about 5 times over the course of an hour to ensure a good application. 

POR-15 Metal Prep and Degreaser


POR-15 Rust Conversion Primer applied - it's slightly foamy - keep it wet for the entire treatment time

Once the rust conversion treatment is complete, rinse the parts off with hot water and allow to dry before the paint application. 

Bumper surface following rust conversion primer treatment. 

The POR-15 coating comes in a limited number of colours for various applications. There is Gloss Black, Semi-Gloss Black,  Silver,  Gray  and Clear. In addition, there is a high heat caliper paint available in Black,  Blue,  Red,  Silver and Yellow. I have the Silver, Gloss Black and Silver caliper paints. For touchups on the underbody steel, I used my silver paint, just so that it wouldn't contrast too badly with the seafoam green factory color. For the suspension parts, rear bumper and hitch, gloss black obviously from the photos. 

POR-15 Gloss Black applied to the trailer hitch

POR-15 Gloss Black applied to the rear bumper and mounts, and trailer hitch

The paint application is pretty straightforward - I use disposable brushes so I'm not bothered with cleaning them. You need a minimum of two thin applications, applied before the coating cures completely. You can recoat once the initial application is dry to the touch with a slight finger drag (stickiness). If you allow the first coat to cure completely, you need to sand before the second coat - it's important to time your work. 


POR-15 Silver applied to rust touchups on the underbody (battery box next to suspension compressor)

I wasn't able to get up around the rear suspension mounts with a tool to remove loose paint, there is not a lot of access in those areas. I've ordered a dremel flex extension - will see if that allows me to get at the flaking paint in those areas and I'll post an update when I get that done. I really wanted to get all the corrosion protection done before this winter. 

Gloss Black POR-15 on the rear differential case. 

I painted the rear differential in the car. The Tremclad provided some protection, so I didn't have massive pitting and flakes of rust, so prep was pretty quick and easy. The differential is exposed to road salt and grit, so I'm looking forward to how well the POR-15 holds up over time. 

Reinstalling the bumper and hitch components - spacer washers for bumper held on by masking tape

It was totally worth removing the hitch to treat the rust on the hitch - there is no way I could have done a proper job of it on the car. It's common to see rusty hitches - but I hate seeing the rust on my car. If I'm going to keep it, I want it to look good. 

Ready to lift the trailer hitch back onto the car

Reinstalling the hitch was fairly straightforward. I treated all the hardware by soaking it in the POR-15 primer overnight. Once everything was reassembled, I coated all the fasteners with the black POR-15 coating. 
I didn't completely disassemble the hitch, so I needed to pull the crossbar into position with a load strap

Rear bumper and hitch installed. Looks great in gloss black - will mostly be covered by the bumper cover.

So - another job done. Looking forward to seeing how well the POR-15 holds up over time. The final step was to apply fluid film in critical areas - around fasteners, where there is metal to metal connections, and inside the rear bumper cavity that was inaccessible for painting. One other comment - removing the rear bumper cover on the E61 is really quick and straightforward, much simpler than removing the front bumper cover. It only takes about 10 minutes, and it's probably worthwhile removing it periodically just to clean out the road salt and grime that collects within the rear bumper that caused a lot of the corrosion in the first place.

Sources


Some POR-15 products are available at Canadian Tire at a reasonable price. For everything that Canadian Tire didn't carry - I simply ordered from the POR-15 online store - quick delivery in a couple of days. Real simple.

Let me know if you have any comments or questions below. 


Share:

2017 Subaru Outback Oil Drain Plug Head Rounded - First Oil Change

This seems to be a common problem - first oil change on a late model Subaru 2.5L engine - and the oil pan drain plug head gets rounded by your socket and you can't remove the drain plug. So - what to do? Trip to the dealer? I've been changing my own oil for many years - first time this has happenned to me. I decided to purchase a set of bolt extractors and sort it out myself. Here's how it went.
14mm Hex Head on the Drain Plug - Just rounded enough to make it impossible to remove
 I purchased a slightly used 2017 Outback with 17,000 km - lease return. At 25,000km I went to do my first oil change. The dealer had informed me that they had changed the oil at the lease return. When I went to remove the drain plug - I didn't lift the car because I thought I'd be able to spin it off with the car sitting on the ground (as I had done many times with my 2006 Outback - it sits high enough off the ground that you can slide the pan underneath and not have to lift the car to change the oil). This time it went differently - with the drain plug at an angle, and recessed slightly below the aerodynamic underbody cover - it's quite awkward to get a socket on the drain plug and apply the torque at an angle. It would be much easier with the drain plug oriented vertically. One bad move and I rounded the head.
Another view - Drain Plug accessible through a small access port, sits on an angle
 So - I put everything away, got online and ordered a set of chinesium bolt extractors. I've never tried these before, so this was an experiment for me. Using a ball pien hammer, I tapped the 14mm extractor onto the drain plug so that it was well seated, then popped on a short extension and used my Dewalt 3/8" impact gun which can generate about 100 ft-lbs of torque - and nothing moved - at all. I was stunned - 100 ft-lb of torque on a drain plug? Clearly not normal.
Dewalt 1/2" Drive Impact, 21mm deep socket, 14mm bolt extractor, and the drain plug in question
So - I pulled out the Dewalt 1/2" impact which can generate 400 ft-lbs of torque - and a 21mm deep impact socket to be able to fit over the extractor (instead of using the 3/8 socket drive square) and leaned on it. After about 15 seconds, the drain plug broke free and loosened, with no damage to the oil pan. The bolt extractor was hot to the touch from the impact force. The drain plug was well grooved from the force of the bolt extractor.

Check out the grooves on this drain plug head. Exctractor worked like a charm.
I installed a new Dorman replacement drain plug - with a larger hex head - and completed the oil change.

Bit of a mess - An angled drain plug will shoot your oil about 2 feet sideways
So - what do I think about this? Drain plug with small head - should be larger - like 19mm for a 16mm bolt size so that you can get a tool on the drain plug. Soft metal and the paint interferes with good contact with your socket. This plug should definitely be re-specified. The plug installed on an angle - shooting oil sideways? Brutal - plug should be installed vertically on the pan. I don't know if the dealer ever actually changed the oil - have sent the oil out for analysis to get an opinion on that. If you're in the same situation - up to you to decide what to do - take it to a dealer or extract the plug yourself. In my case - it worked out okay. Let me know if you have any questions.

In case you're wondering, the new drain plug is a Dorman 65325 - M16-1.50 threads. Nice piece with 17mm hex head - 3mm larger than the stock drain plug.

Dorman 65325 Oil Drain Plug

Update - December 2019:

6 months have gone by, did my second oil change. Drain plug spun off normally, no problem at all, oil change completed in 30 minutes. Definitely a manufacturing defect with the way the drain plug was delivered from the factory. Blackstone Labs oil analysis came back on the first oil change - they did not think that the oil had not been changed as described by the dealer - which was good news. It also meant that they must have sucked the oil oil out of the dipstick tube. FWIW.

Sources and Links

I hope you found this post useful. Feel free to ask questions in the comments section below. I answer all questions. If you're interested, you can help support this site by using the following links to Amazon.com in the United States.

Share:

Upgrading my cordless tool charging station for my new Dewalt 20V tools

Back in March 2015, I converted one of my Ikea garage cabinets into a cordless tool charging station for my 18V Ryobi and Dewalt tools. It's been a really useful addition to my home shop - very convenient always knowing where to find the charger and batteries, and not having the chargers out on work surfaces in the way.

I started finding that my Dewalt 18V batteries were losing their runtime, and I was looking at reinvesting in new batteries. I had a look at my workflow and my mix of tools, and ultimately decided I was going to go fully cordless - get cordless versions of my reciprocating saw, jigsaw, circular saw, die grinder, 1/2 impact and upgrade my cordless drills, drivers and yard maintenance equipment all to a single tool family. I settled on the Dewalt 20V system for its variety, power, design and common availability. I may write on this whole experience in another post.

One of the big drivers was to get away from having two tool families - so that I could have a single common set of batteries to manage. I wanted to have a more efficient, simple workflow.

The completed charging station upgrade
And - here's where I started with the previous version - with the two tool families - Dewalt 18V and Ryobi 18V:

The original Dewalt and Ryobi 18V system - lots of batteries to manage
One of the motivations for this whole upgrade was to reduce the number of batteries to manage in the shop, and to make the storage space a bit more efficient. I search the interweb for a rack to store the new Dewalt 20V batteries, and I found these StealthMounts on eBay - these are moulded in the UK so I decided to purchase a 5 pack and try them out.

Stealth Mounts installed on the underside of the upper shelf. Note the orientation with the battery gauge to the front.
When I arranged the chargers vs. the StealthMounts - I was careful to space them so that there would be lots of space to pull the batteries out from the StealthMounts towards the rear - without interfering with batteries in the chargers. I had to move the chargers lower on my mounting board, and install the StealthMounts right near the front of the cabinet. Results - lots of space to move batteries around without interference.

20V charging action - with the batteries stowed in the Stealth Mounts - lots of space for the Vacuum, drill, driver and flashlight
Detail of the StealthMount. These are nicely moulded, generous clearances with the batteries so that the batteries clip on and off quite easily, yet the batteries are held securely using the battery locking tab. They can be used as a belt carrier for batteries as well.

The Stealth Mount

Conclusion

So - I've been using this new setup for about 6 weeks - and I'm really happy with the results. It was a great move to consolidate on one tool family, all new batteries with larger capacity / longer runtime is a great upgrade (especially for the yard maintenance equipment) and the StealthMounts are a really nice addition. All good here.

Sources and Links

I hope you found this post useful. Feel free to ask questions in the comments section below. I answer all questions. If you're interested, you can help support this site by using the following link to Stealthmounts available here on eBay


Share:

Cordless Tool Charging Station in Ikea Wall Cabinet

Part of the garage organization project included setting up a charging station for cordless tool batteries. I wanted a central place where I could install my chargers, and always have a few batteries charged and ready to go. I wanted the charging station to be hidden from view, and easy to keep organized but out of sight.

I set up  an extension cord from the closest outlet behind my Ikea cabinets to a convenient wall cabinet, and then installed a 3/8" plywood backboard to simplify the installation of the chargers. A coat of white paint helps keep the installation neat.

Plywood backboard installed with four small angle brackets. Note that the shelves are actually straight - the distortion is from the camera lens.
Next step was to install the chargers. I've standardized on two systems - 18V dewalt for most common handyman tools, and Ryobi 18V for my yard tools - cordless lawn trimmer, cordless hedge trimmer and cordless blower (I'm a pretty big fan of these three tools).

Dewalt charger on the left, Ryobi charger on the right. Mounting on the back wall of the cabinet maximizes space in the cabinet for batteries and tools, and helps keep things organized.
Dewalt and Ryobi chargers installed on the backboard. 
And finally, in front of the chargers - lots of space for the Dewalt 18V cordless shop vac, impact and drill.

Cordless tools - out of the way, always ready to go. 
Pretty simple project, took about an hour in total. Painting the plywood took the most time.


Share:

The Dewalt DC-515 18V Cordless Shop Vac

This has become one of my favourite tools. It is super handy for cleanup after odd jobs around the house. Installing electrical switches, small drywall patch repairs, anything that leaves a small pile of dust when you're done.

Standard 1 1/2" shop vac accessories fit the Dewalt Cordless Vac. This is the micro cleanup kit with brush, perfect for cleaning out electrical boxes.

Two standard extensions with the narrow floor wand - perfect for cleaning up the floor. 

Here's the side view of the vac, with the hose stored the head works for floor dust pickup.
The vacuum has a washable filter, that's suitable for drywall dust, and an easy opening dust bin. Very handy.
Share: